I have a few different techniques that I use.
Here's one. This piece was done for LifeWay Christian Resources a while back. It was for a children's Sunday School curriculum I believe.

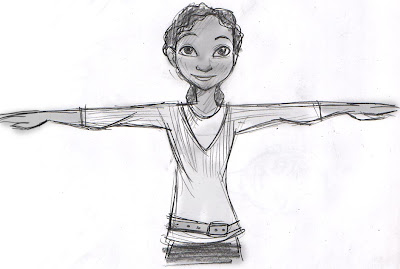
First, I did a sketch to present to the client.

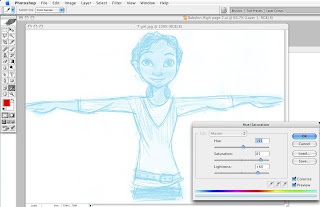
After approval, I took the drawing into photoshop and adjusted the hue, saturation, and lightness (image/adjustments/Hue-Saturation) until I had a light blue looking sketch. Then I printed it.

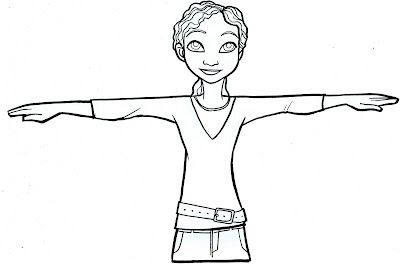
I drew over top of the blue lines with a brush pen and fine-tipped fancy shmancy art marker. I buy the heavier, brighter stock paper, so that I can do this technique without the ink bleeding. Then, I scanned the black line drawing back into photoshop and further adjusted any little dots or mistakes I may have made in the drawing step. (in the case of this illustration, I didn't have any errors, as far as I can tell)

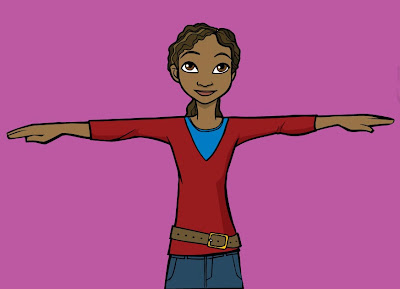
Then I exported the black line drawing to Illustrator, did a 'live trace' to convert the line drawing to vector, and then colored it, and added shadow shapes etc.
There. Finished.

1 comment:
Next Step. 3-D Model.
Post a Comment